To ensure our WooCommerce Postcode Checker plugin works properly with Checkout Field Editor for WooCommerce by ThemeHigh, it needs to be aware of the existence of the new street name, house number, and address addition fields.
Step 1: Set up Postcode Checker #
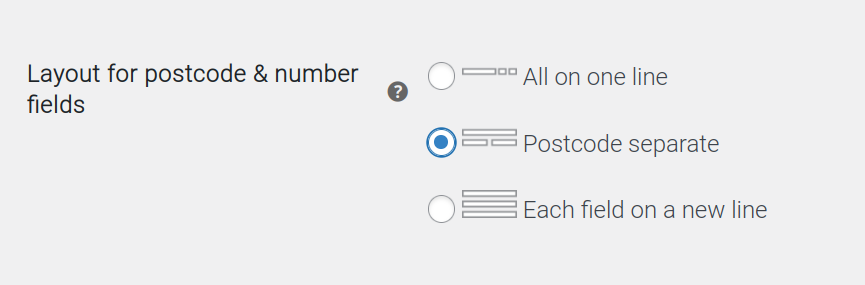
The Checkout Field Editor only supports fields that take up half or full width of the form, so the Postcode Checker settings must match this.
Go to WooCommerce > Settings > Checkout and scroll to the “Postcode Checker” section. For the option “Layout for postcode & house number fields”, choose either “Postcode separate” or “Each field on a new line.”
Save the settings.
Step 2: Reset Checkout Field Editor #
To ensure that the Checkout Field Editor reads the Postcode Checker fields, it needs to be reset.
⚠️ Please note that all customizations will be lost during this process and will need to be configured again!
- Go to WooCommerce > Checkout Form.
- In the “Checkout Fields” tab, navigate to “Billing Fields” and click the “Reset to default fields” button at the bottom. Do the same for “Shipping Fields.”
If everything went correctly, the new checkout fields (billing_street_name / billing_house_number / billing_house_number_suffix) should now appear in both the Billing and Shipping fields.
You can now set up or adjust your original fields again.


