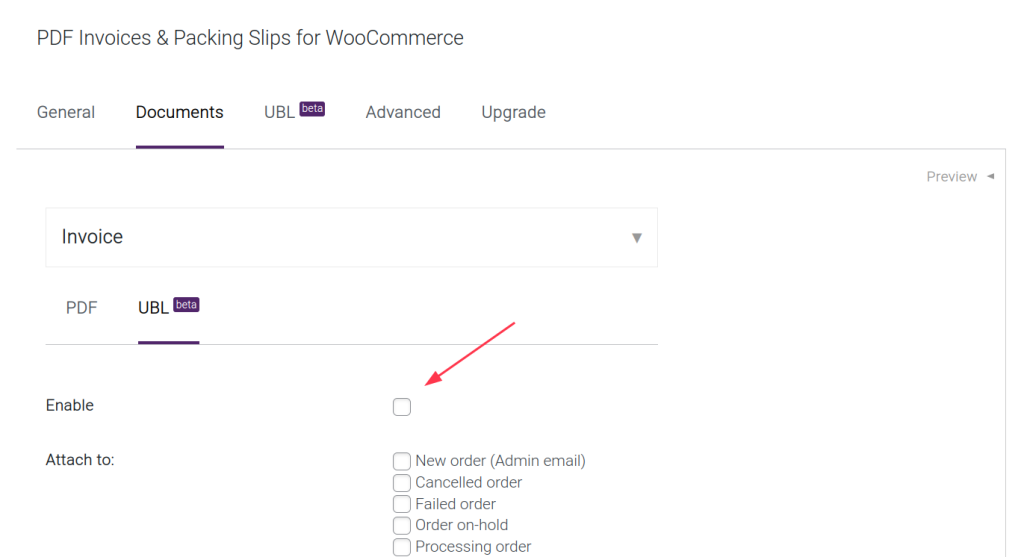
The very first step is making sure that we enable the UBL document via our plugin settings. This can be done by navigating to PDF Invoices > Documents > UBL. The target setting is named “Enable”, as shown below.
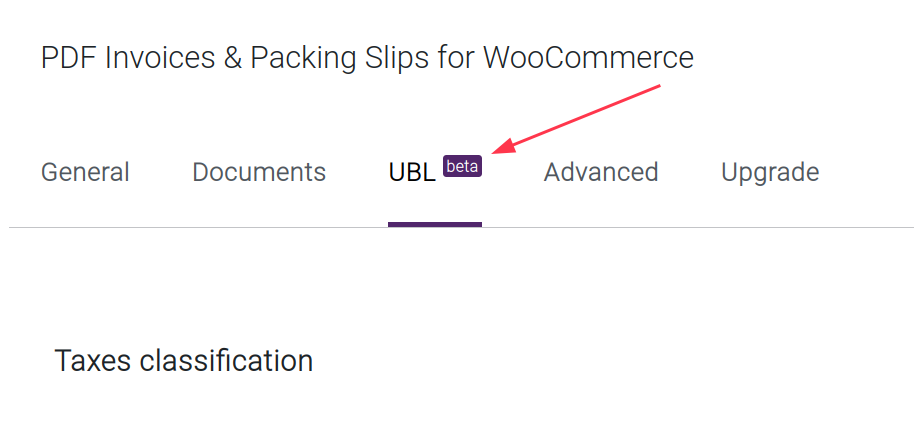
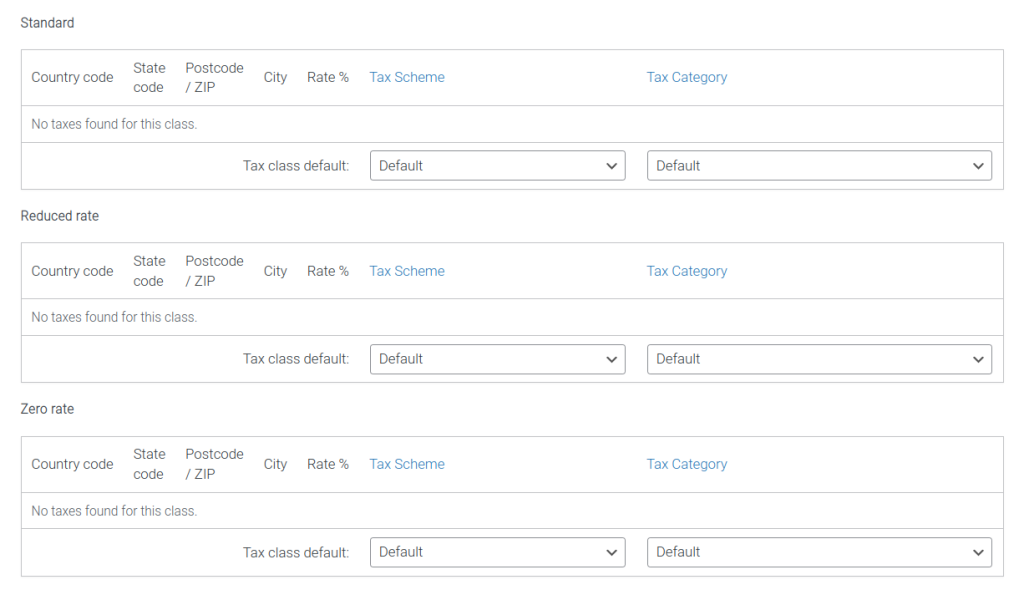
In order to choose which information we wish to include in our UBL documents that are to be created, we can head to the UBL tab via PDF Invoices > UBL.
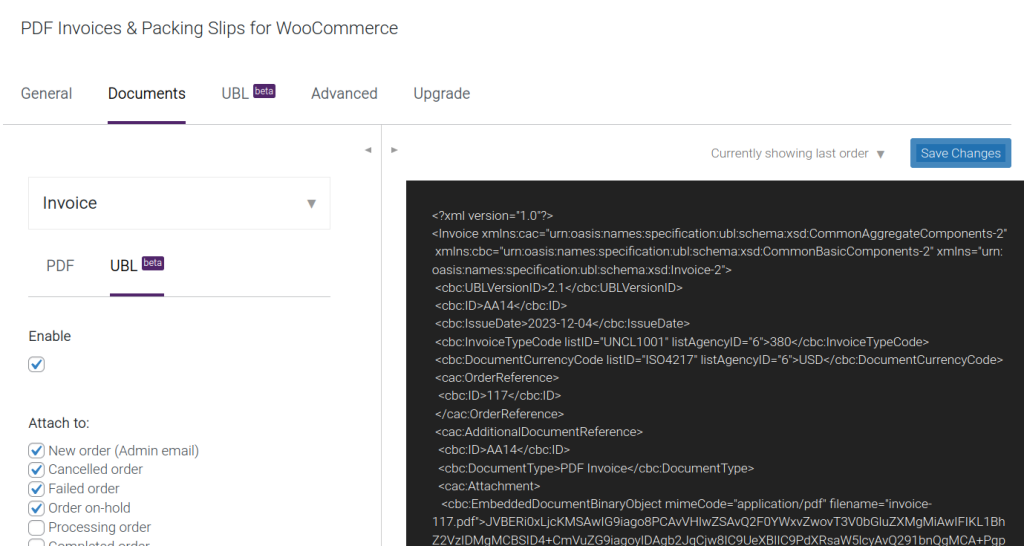
While in the plugin’s settings, you will be able to observe that the UBL document also appears in the Live Document Preview.
From this point, it is important to note that the UBL document requires the PDF Invoice of the order to have already been generated, regardless of whether the document will be generated manually or automatically.
Manual Document Creation #
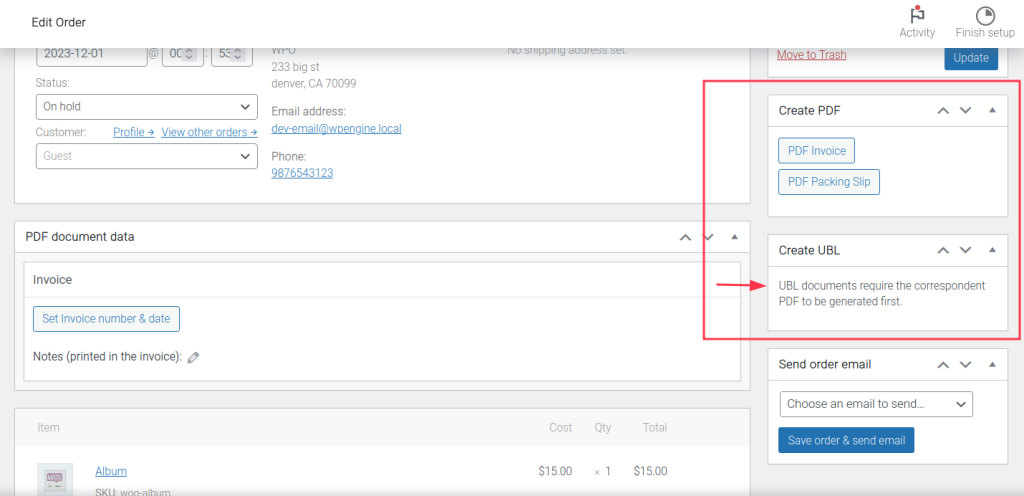
Once we generate our PDF Invoice, our UBL generation button now appears.
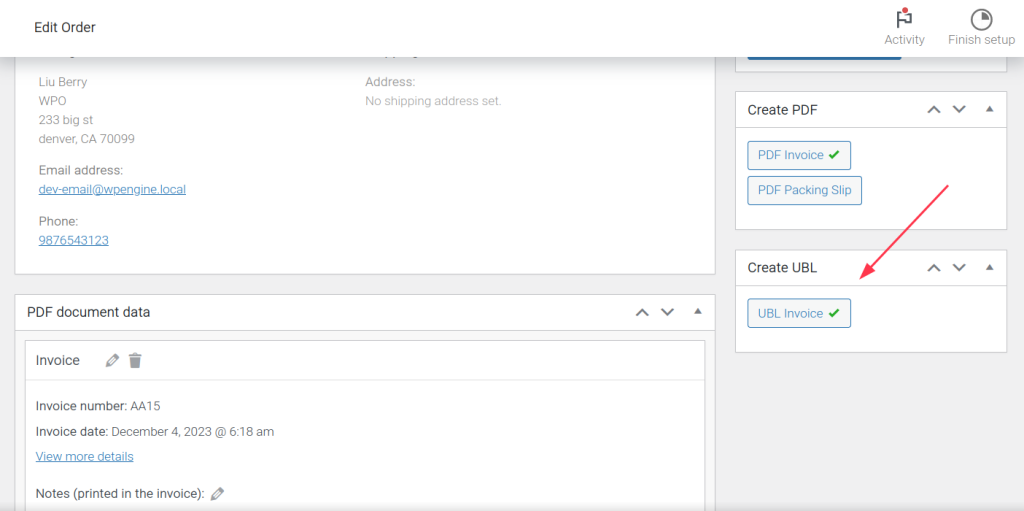
Click on the UBL button in order to manually generate your document.
It is also possible to generate your UBL document from the WooCommerce Orders page (WooCommerce > Orders). If your Actions are enabled via your Screen Options and the previous steps have been followed, the UBL creation buttons will appear alongside the PDF creations buttons.
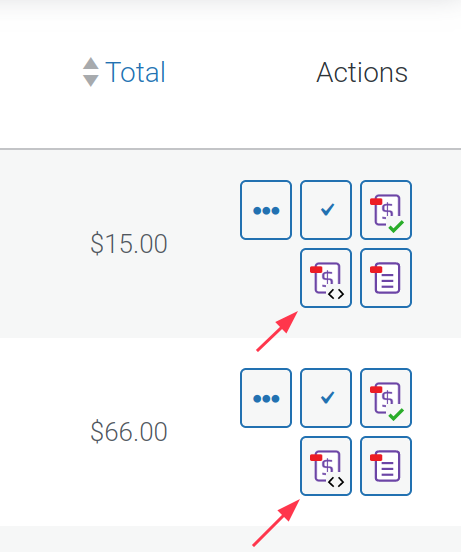
Keep in mind that this newly added UBL button will not appear if the order’s PDF Invoice has not been generated. Notice in the image below, for the highlighted buttons, the PDF Invoice button does not have a green checkmark. The lack of checkmark for this button indicates that the PDF Invoice is not generated and this explains the lack of UBL creation button for this the corresponding order.
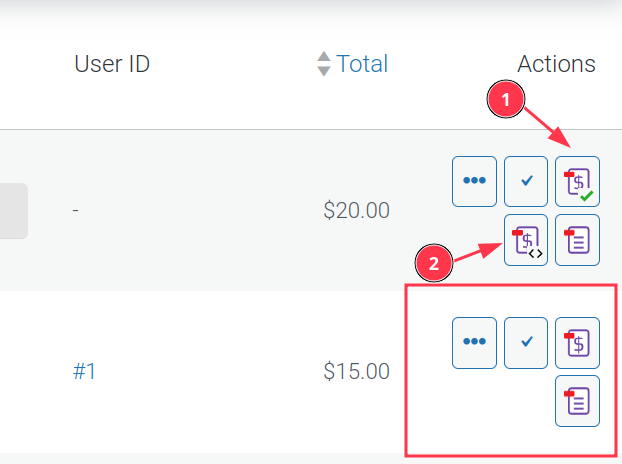
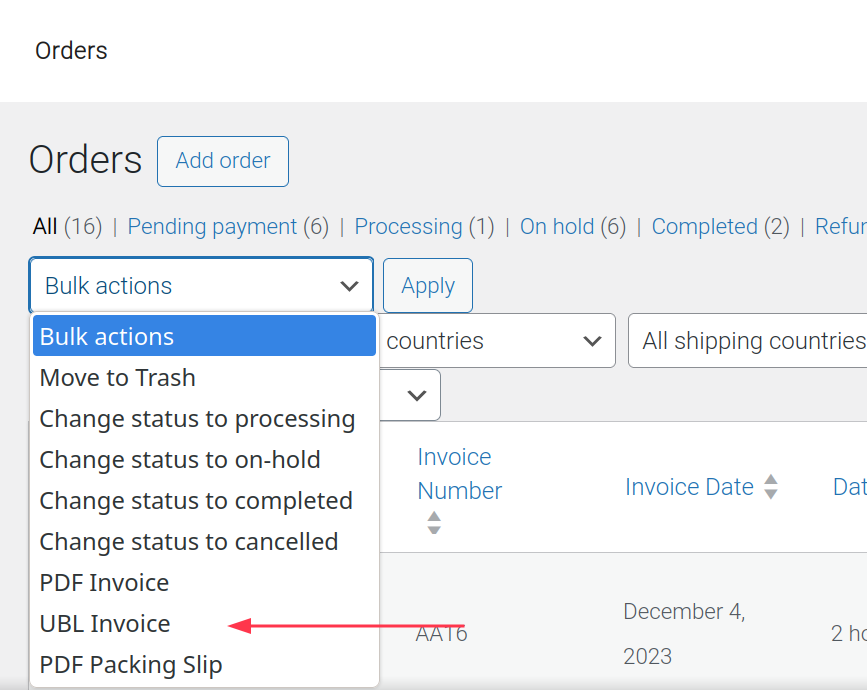
Finally, the UBL document can also be generated using the Bulk actions on the WooCommerce Order page (at WooCommerce > Orders).
Automatic Document Creation #
Automatic creation requires that you select to which WooCommerce email you wish to attach the UBL document. Go to WooCommerce > PDF Invoices > Document > UBL and look for the “Attach to” in order to proceed.
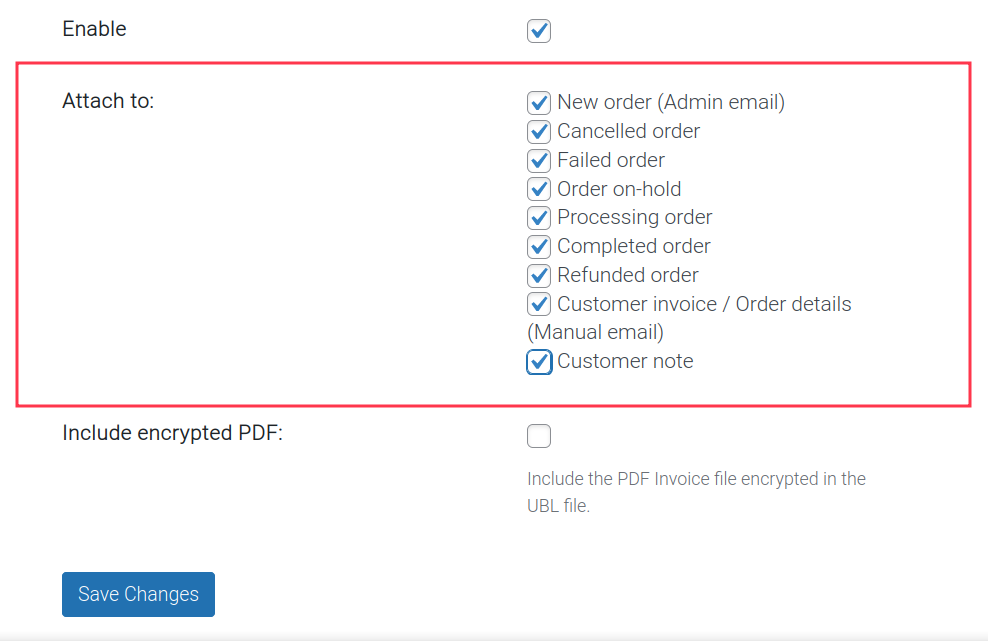
Now, when the WooCommerce email that was selected is triggered and sent, the order’s UBL document will be included with it.


